Onboarding Wizard
The Onboarding Wizard is a step-by-step setup guide that walks you through configuring a PagerDuty account from scratch — teams, users, schedules, escalation policies, services, AIOps, and incident workflows — all from inside your IDE. Built on the MCP Apps extension.
What it does
The wizard walks through nine sequential phases. Each phase shows a Best Practices panel alongside the form so you know what PagerDuty recommends before you click anything.
| Phase | What gets configured |
|---|---|
| 1. Teams | Create the teams that will own services and on-call schedules |
| 2. Users | Invite users (manually or via CSV upload) |
| 3. Team Membership | Assign users to teams and set their roles |
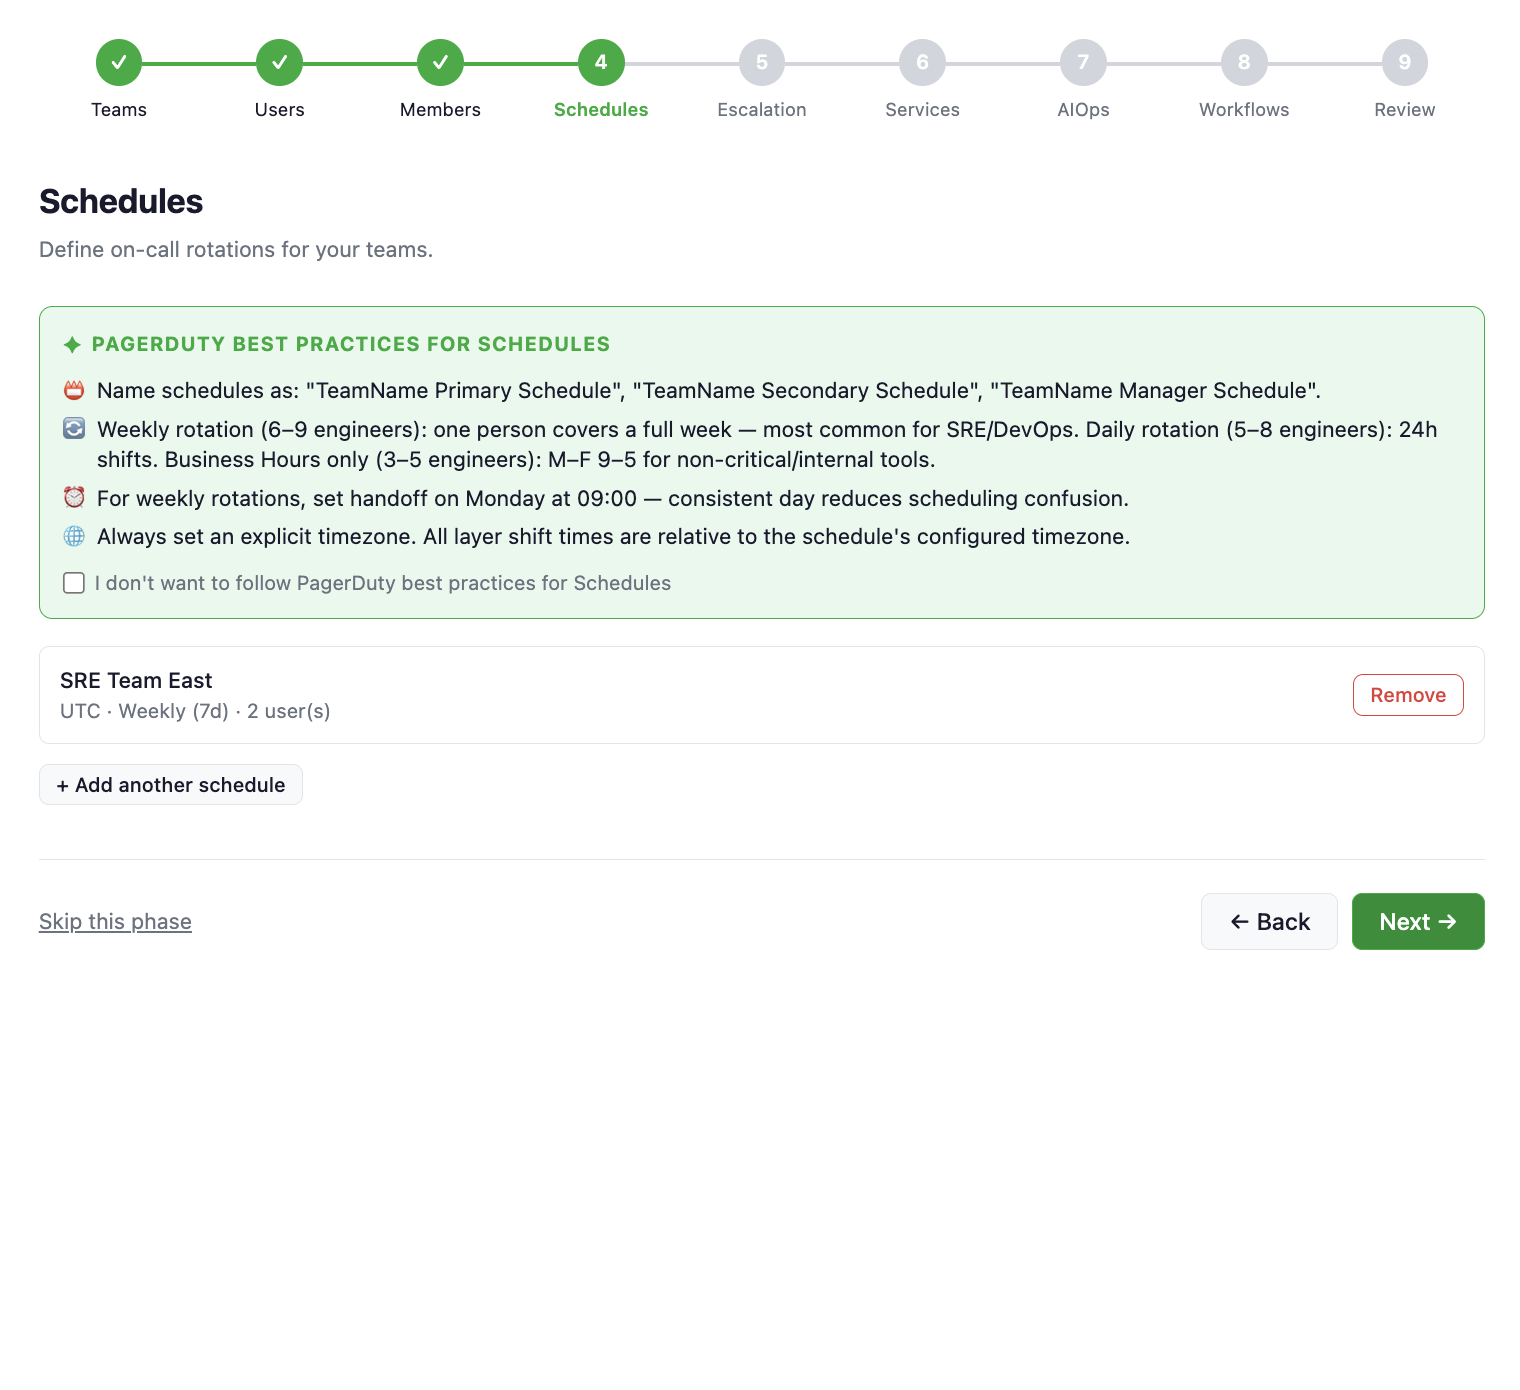
| 4. Schedules | Build on-call rotations — weekly layers, timezone, handoff times |
| 5. Escalation Policies | Wire schedules into escalation policies with notification rules |
| 6. Services | Create services and attach escalation policies |
| 7. AIOps | Configure intelligent alert grouping per service |
| 8. Incident Workflows | Set up automated response workflows triggered by incident conditions |
| 9. Review & Create | Summary of everything — confirm and create all resources at once |
Step-by-step walkthrough
Step 1 — Teams
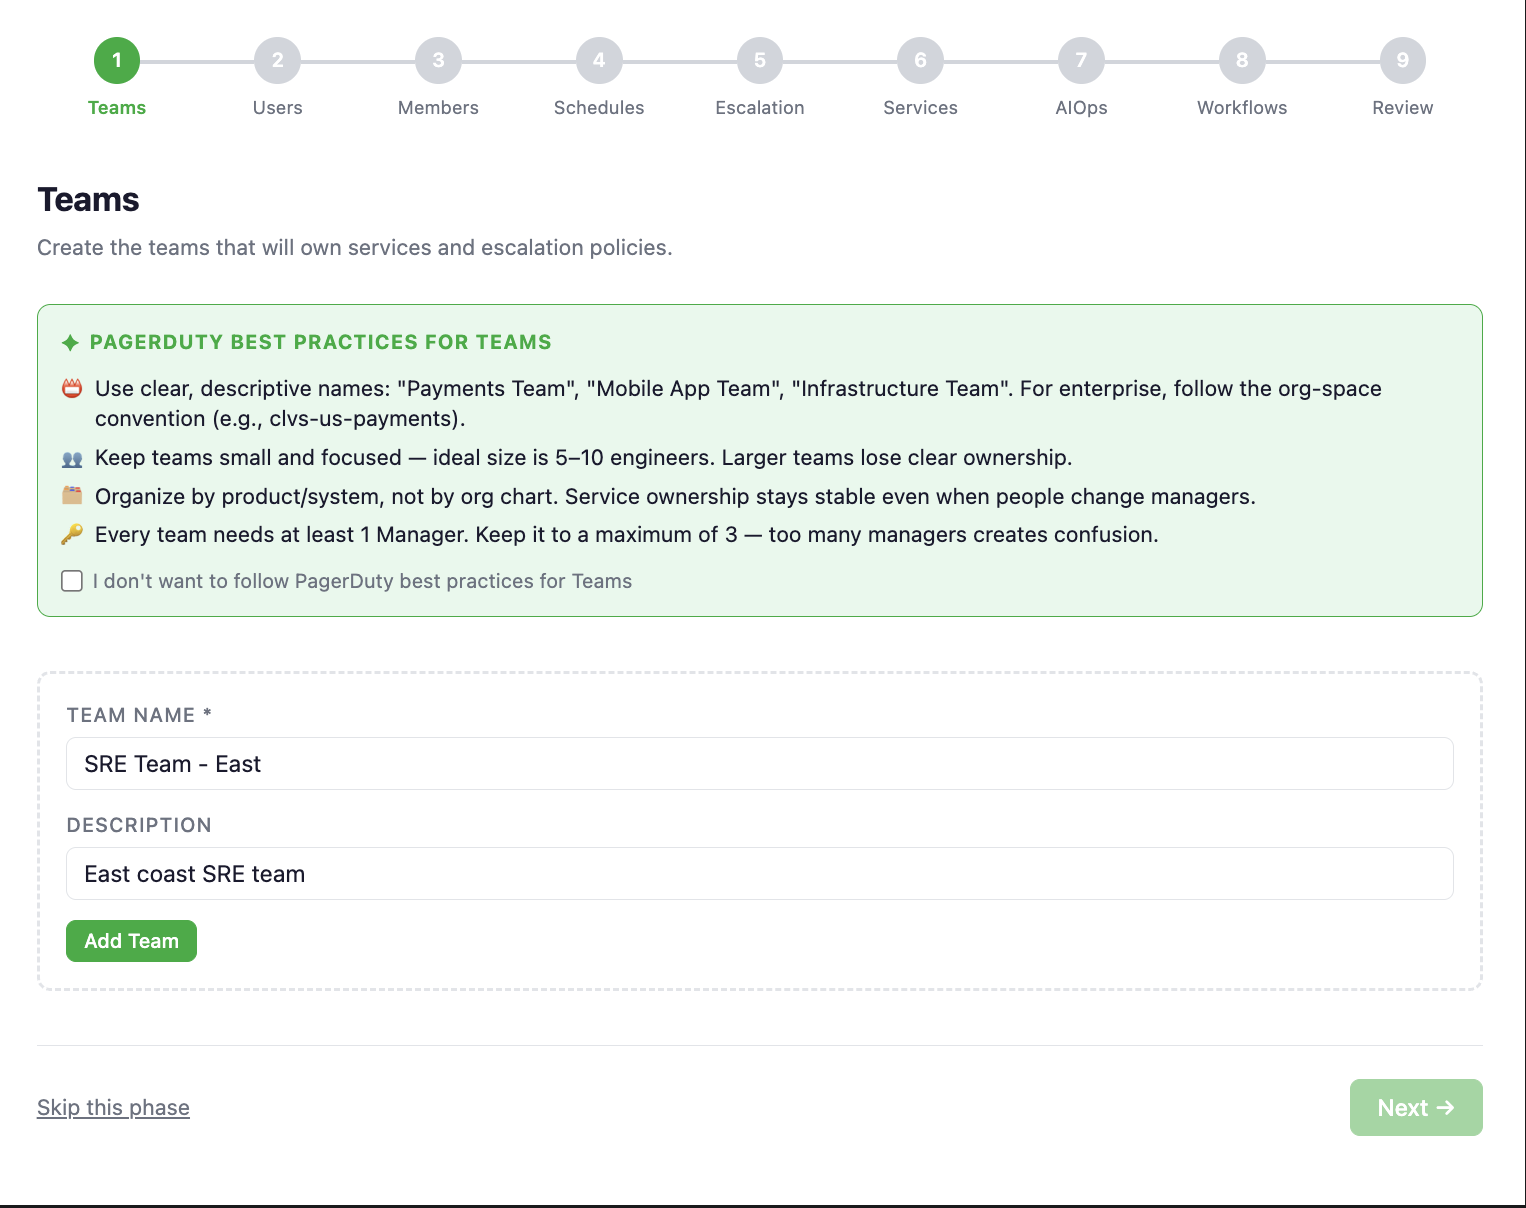
Create the teams that will own services and schedules. Best practices for naming and size are shown inline.
Step 2 — Users
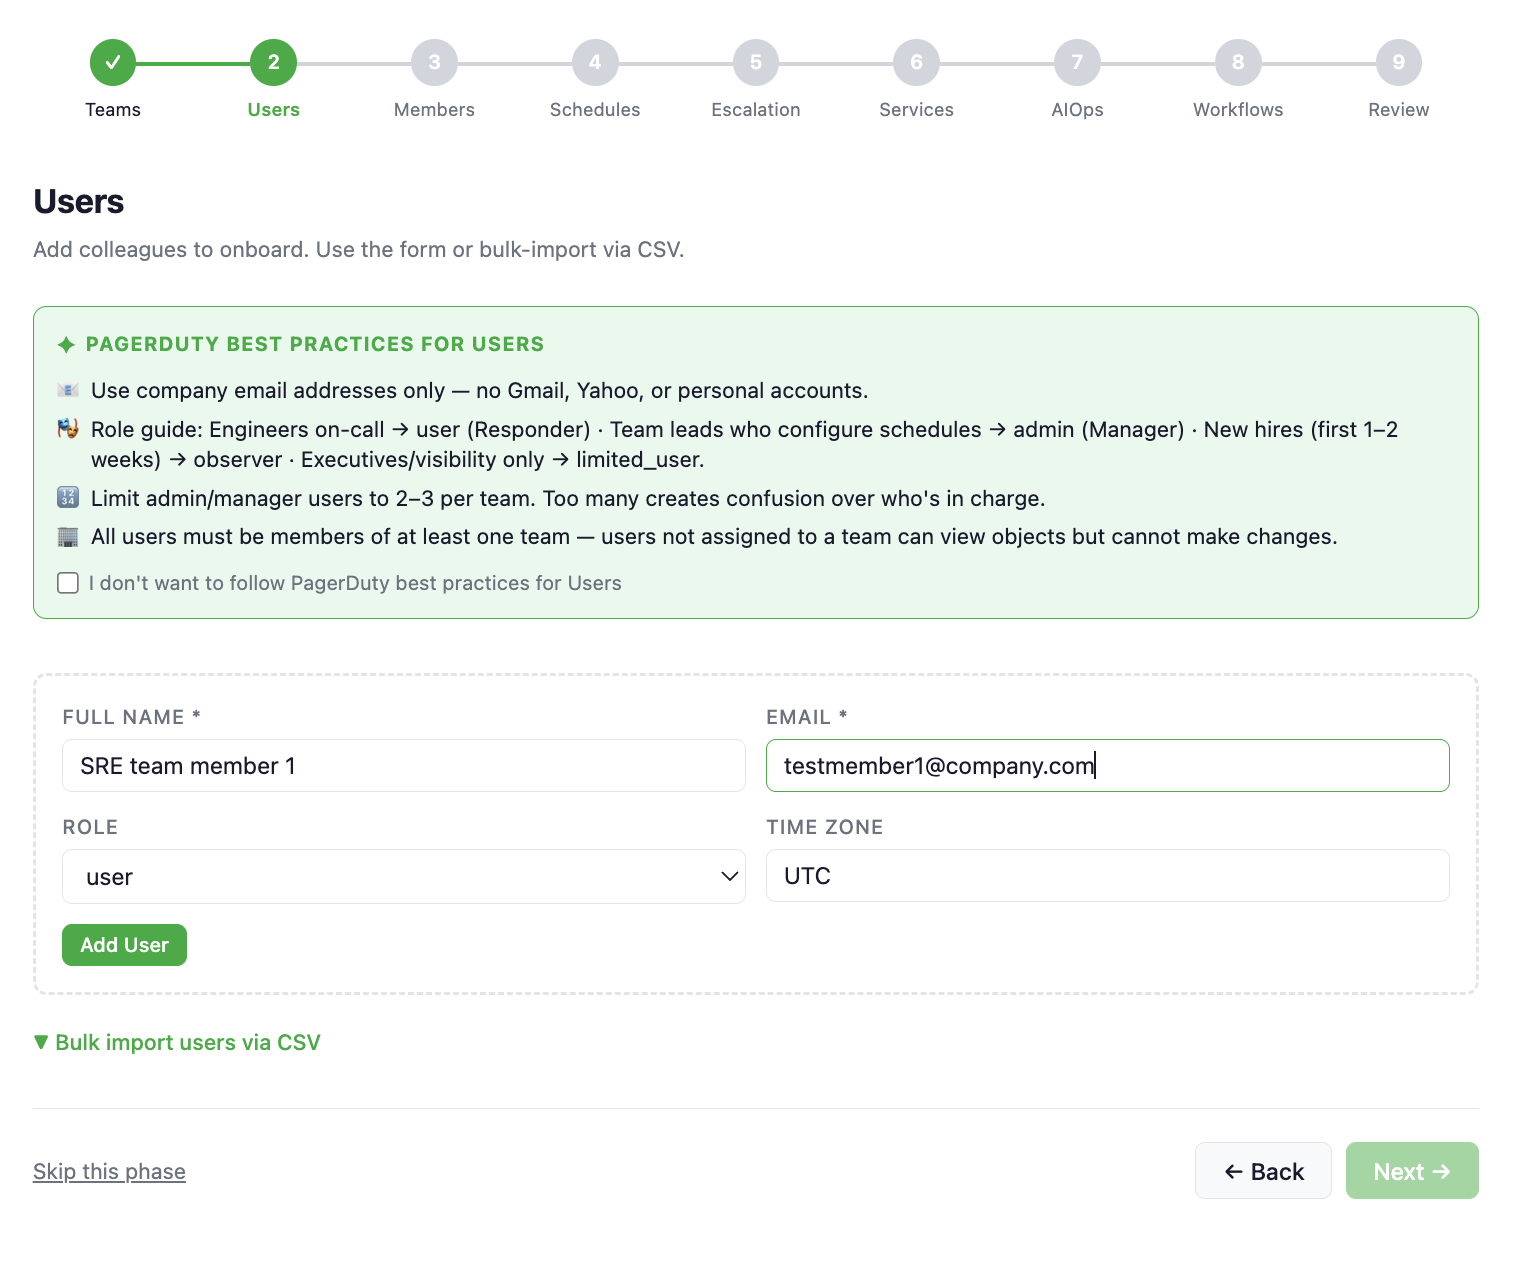
Add users one at a time via the form, or bulk-import via CSV. The expected CSV columns are:
name,email,role,team
Alice Smith,alice@example.com,user,Platform
Bob Jones,bob@example.com,manager,Platform
Step 3 — Team Membership
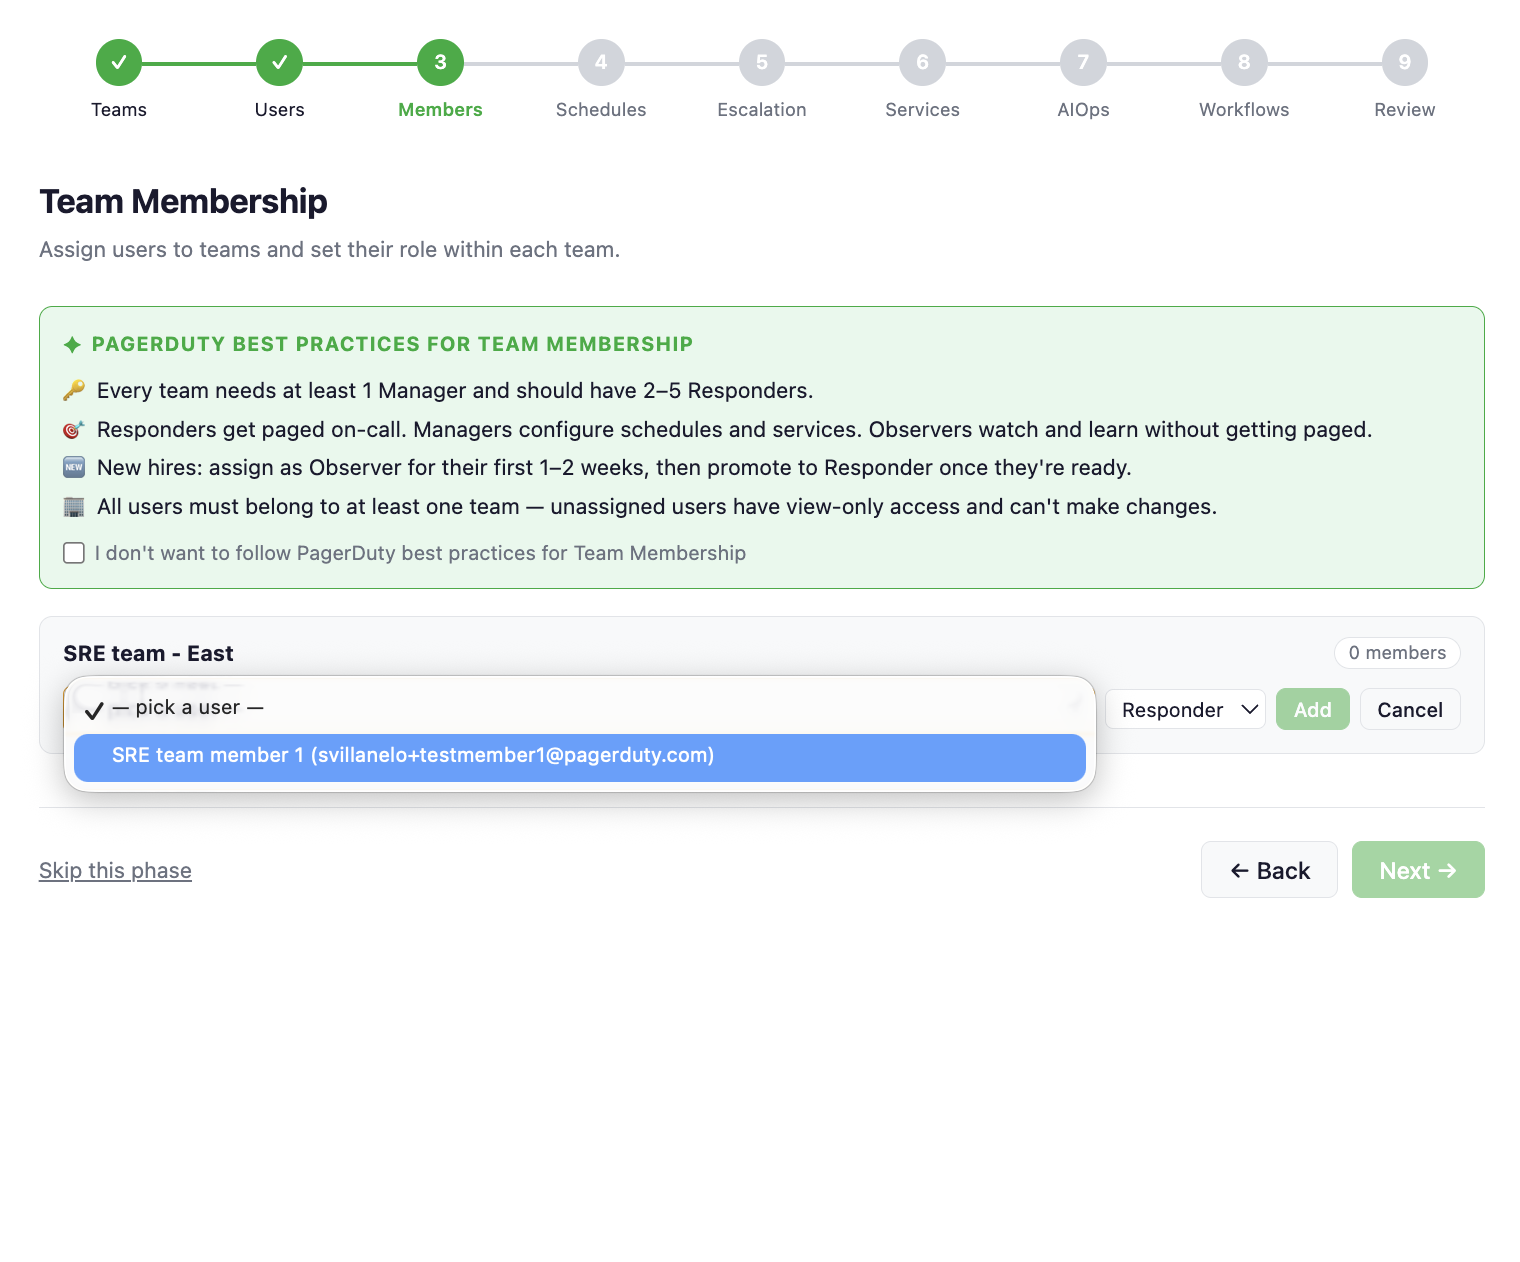
Assign users to teams and set their role (responder, manager, or observer) before schedules are created.
Step 4 — Schedules
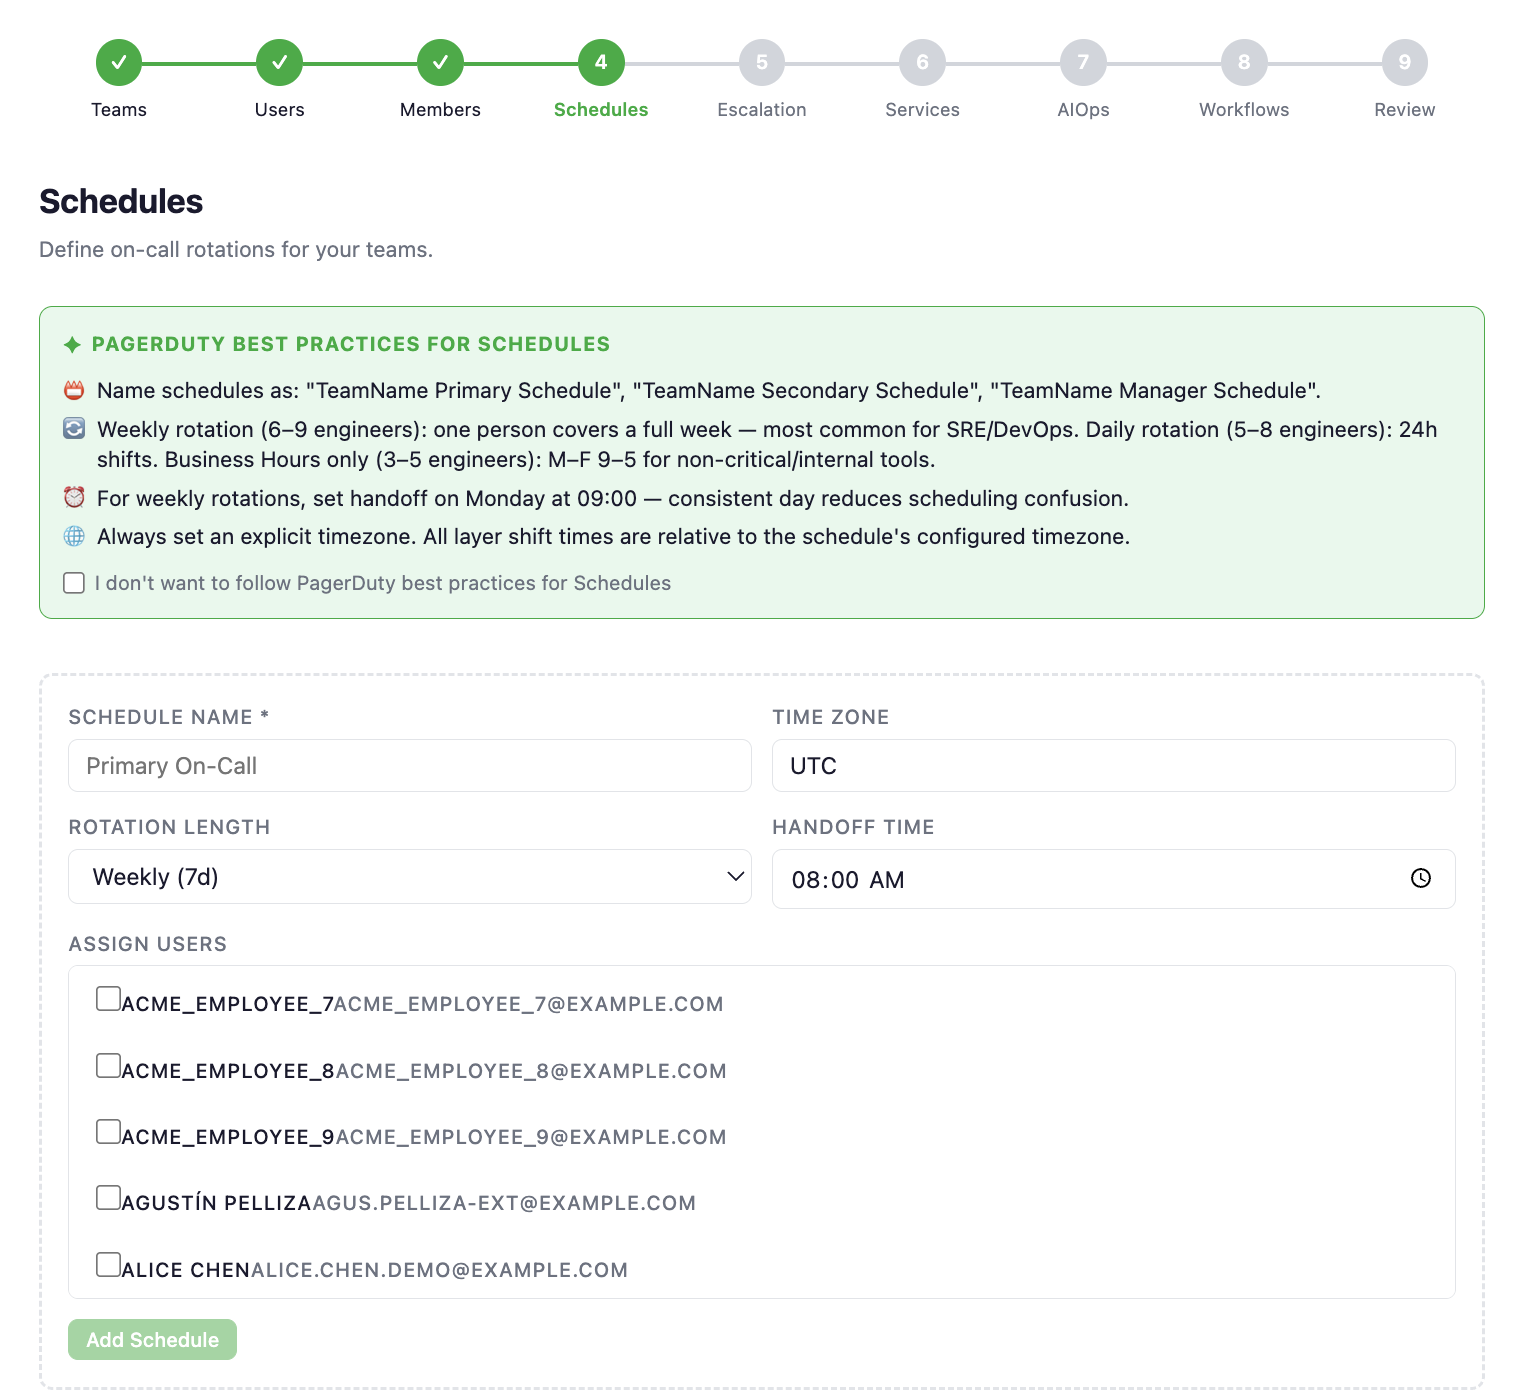
Define on-call rotations: rotation length, handoff time, timezone, and assigned users. Add multiple schedules for primary and secondary coverage.
Step 5 — Escalation Policies
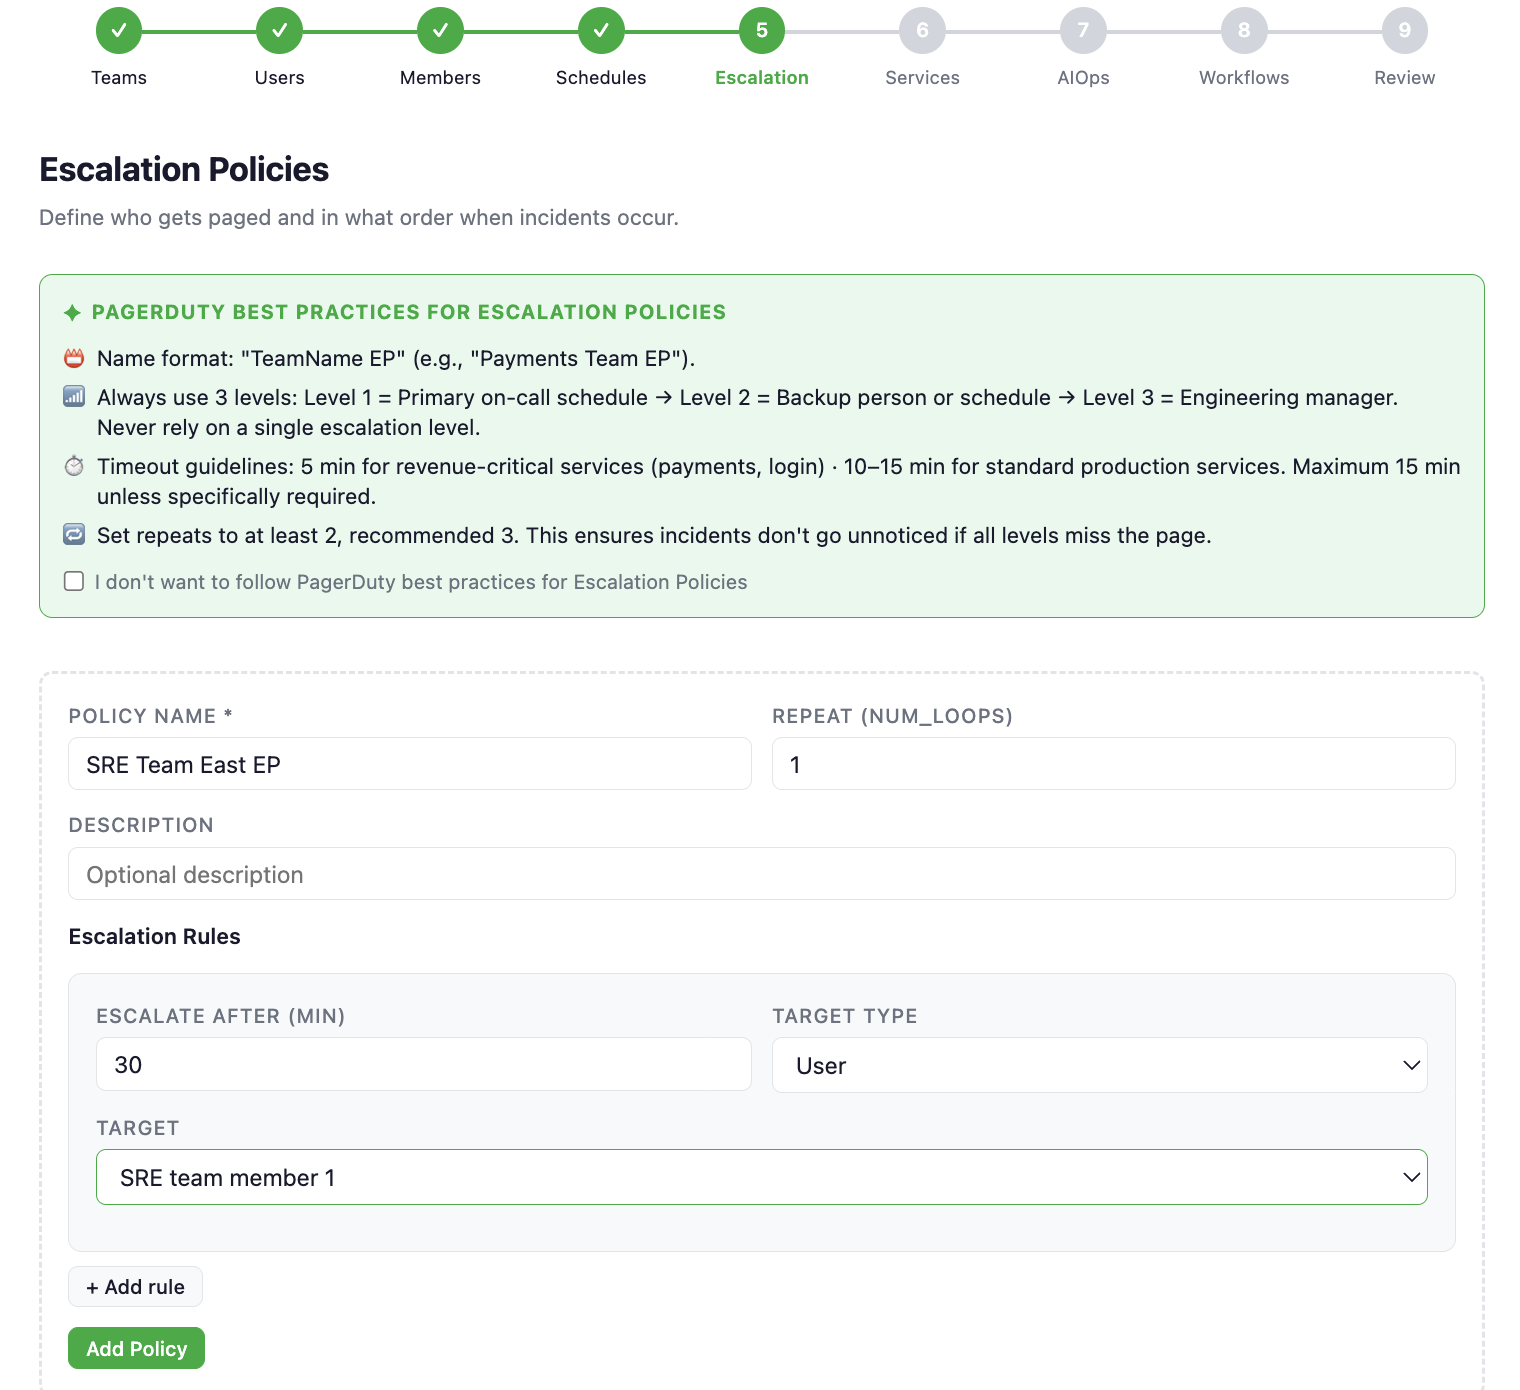
Wire the schedules from the previous step into escalation policies. Each layer can target a schedule or a specific user, with a configurable escalation delay.
Step 7 — AIOps Alert Grouping
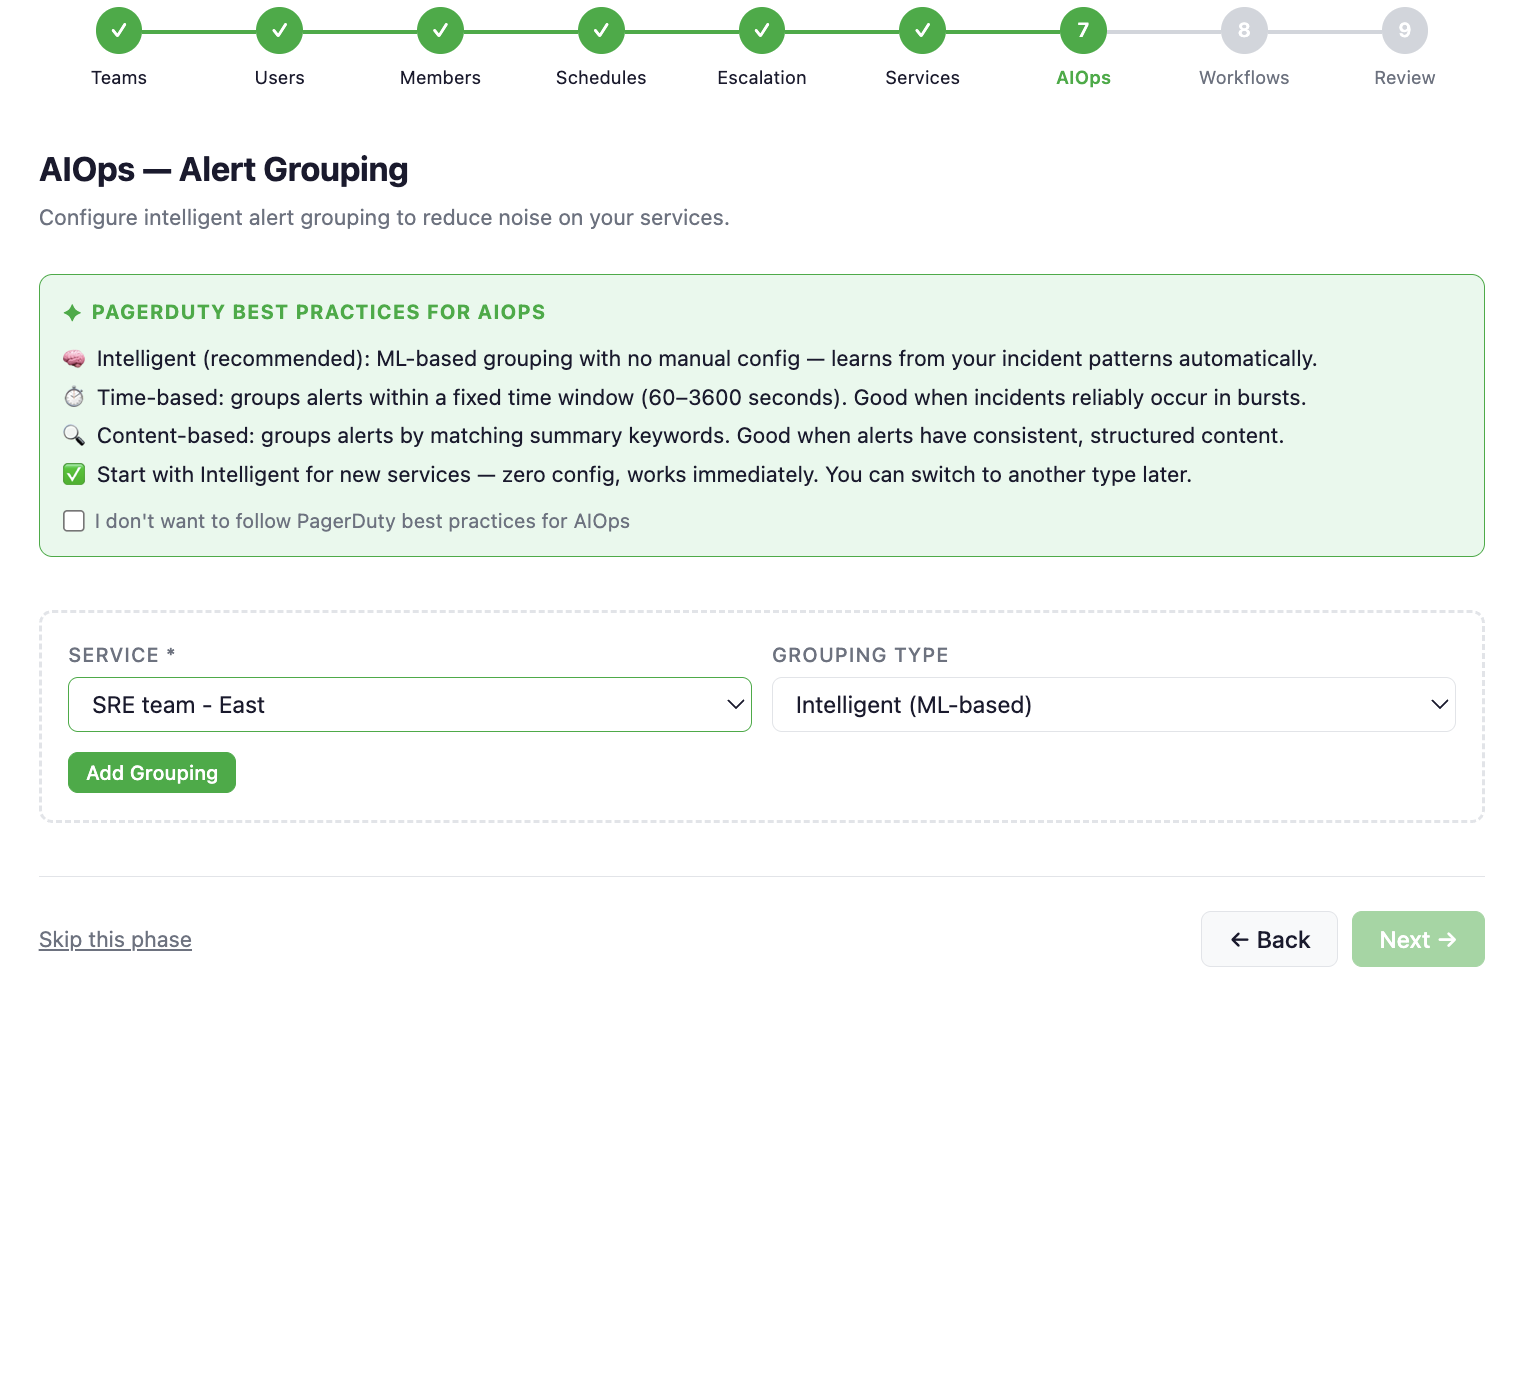
Configure intelligent alert grouping per service to reduce noise. Choose from Intelligent (ML-based), Time-based, or Content-based grouping.
Step 8 — Incident Workflows
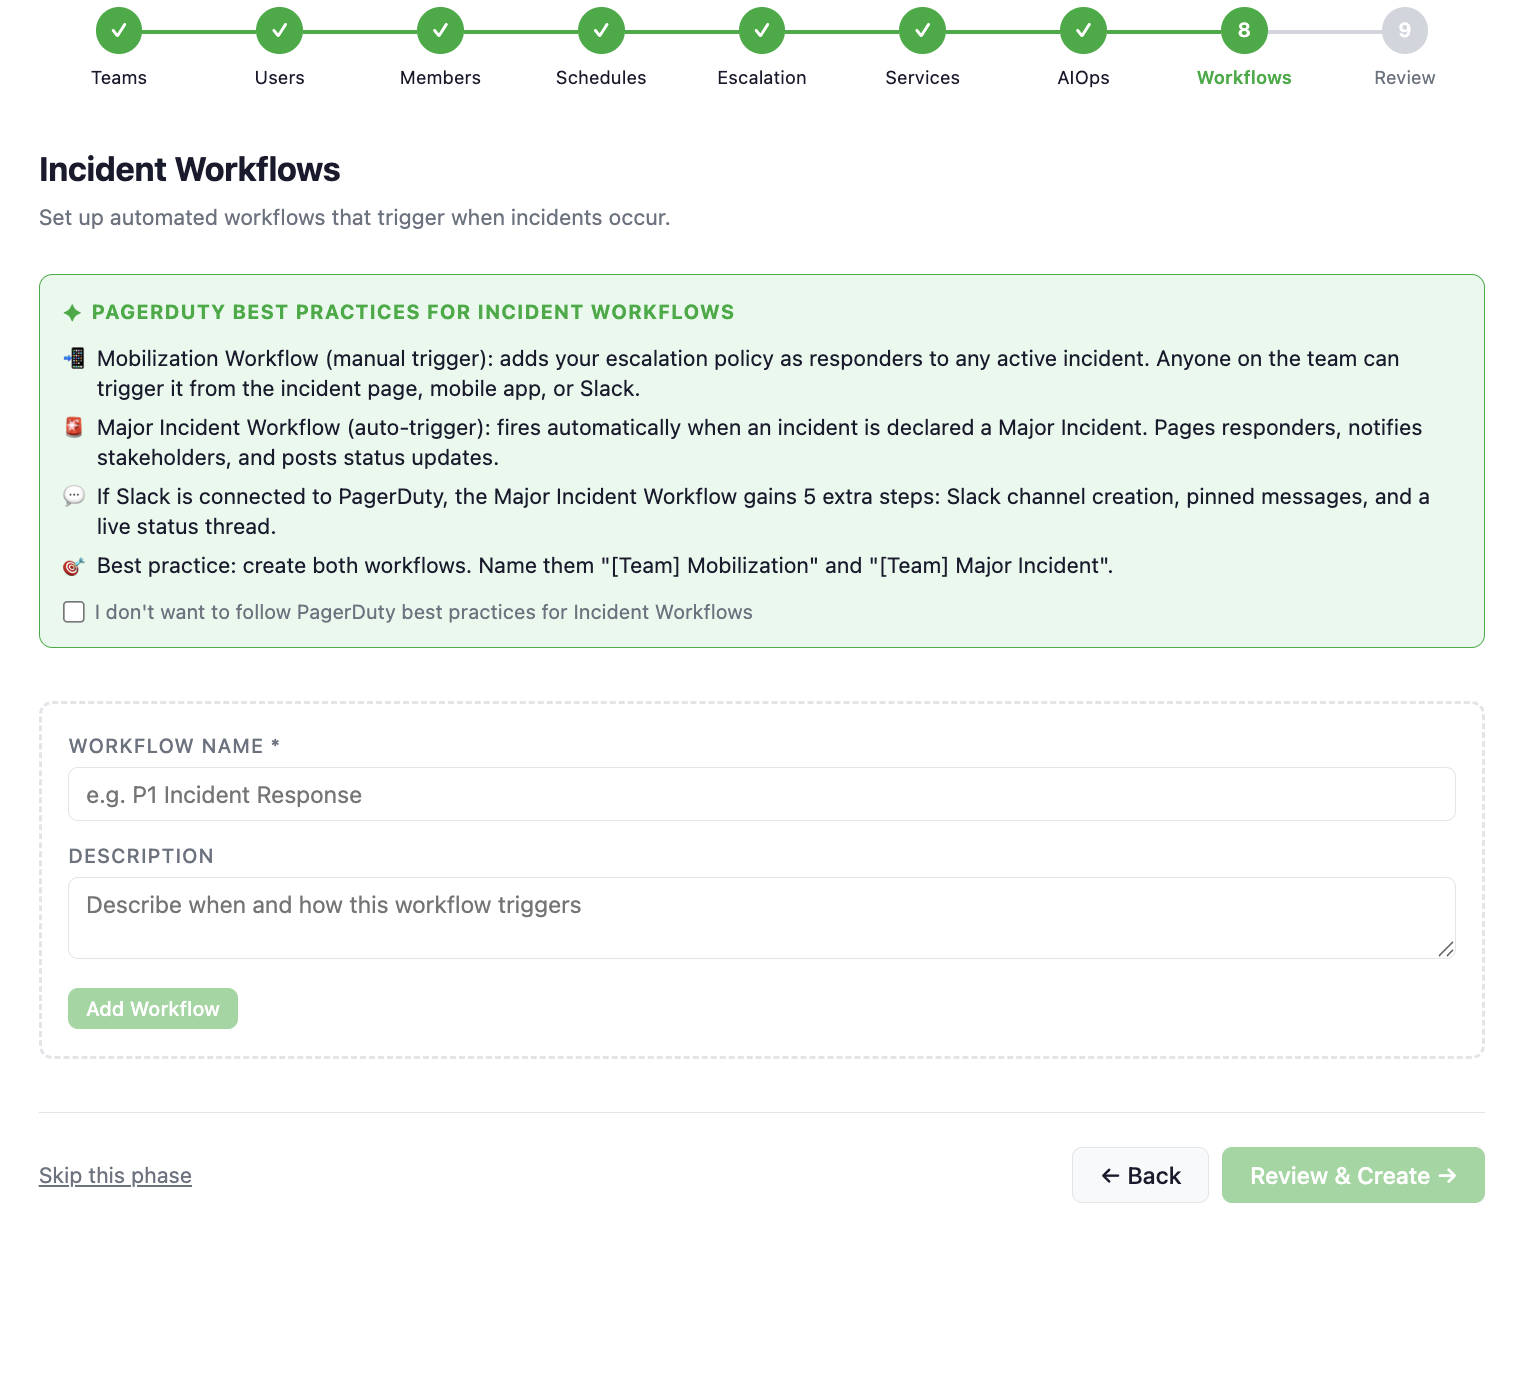
Set up automated response workflows that trigger when incidents are created or updated — mobilization workflows, major incident workflows, Slack notifications, and more.
Step 9 — Review & Create
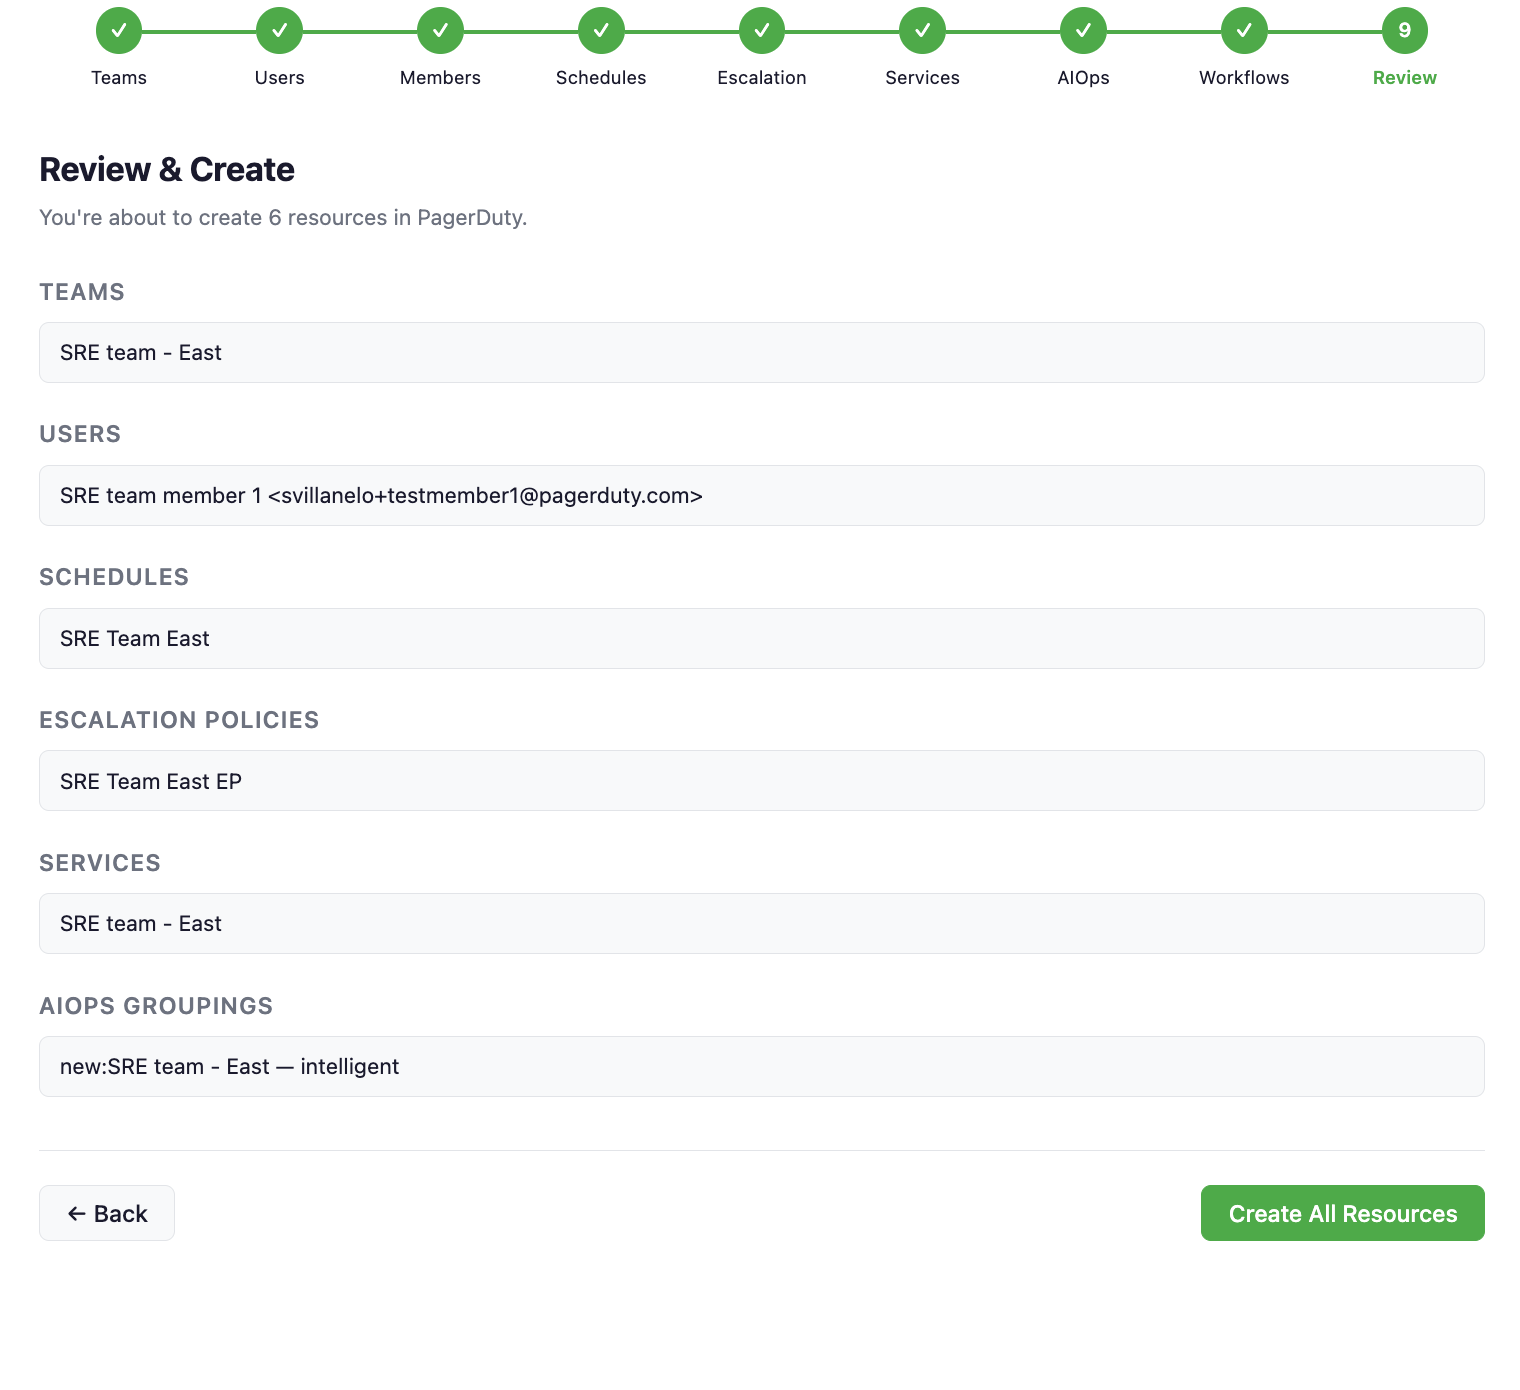
A full summary of everything the wizard will create. Confirm and click Create All Resources to provision everything in one shot.
How it works
Each phase creates resources in PagerDuty via write tools in the MCP server. The wizard tracks the IDs of everything it creates so later phases can reference them (for example, schedules created in step 4 are available to select in step 5 escalation policies).
Requires --enable-write-tools — the wizard creates real resources in your PagerDuty account.
Supported clients
| Client | Status |
|---|---|
| VS Code (GitHub Copilot) | Supported |
| Claude Desktop | Supported |
| Goose | Supported |
Try it out
The Onboarding Wizard is available on the experimental branch:
uvx --from git+https://github.com/PagerDuty/pagerduty-mcp-server@experimental pagerduty-mcp --enable-write-tools
Then ask your agent:
Open the onboarding wizard
The Onboarding Wizard creates real resources in your PagerDuty account. Use a sandbox or test account when exploring for the first time.
The Onboarding Wizard is experimental. It may change or break between commits and is not covered by the standard support policy.
Feedback
Found a bug or missing phase? Open a GitHub issue tagged experimental: